Overview
Bringing your Figma designs into Symplr Studio allows you to seamlessly transform static UI designs into a structured, interactive application blueprint. Instead of rebuilding screens manually, Symplr intelligently interprets your design and converts it into screens, components, and a foundation for your app’s logic and navigation. This guide walks you through how to import your Figma designs and prepare them for further development within Symplr.What are we going to build?
We are building an app from Figma design:- Build all the screen available in the Figma
- Navigate to other screen
Prerequisites
Before you begin, ensure you have the following:- Access to a Figma design file with a valid shareable link
- A Symplr account with appropriate permissions
- Stable internet connectivity
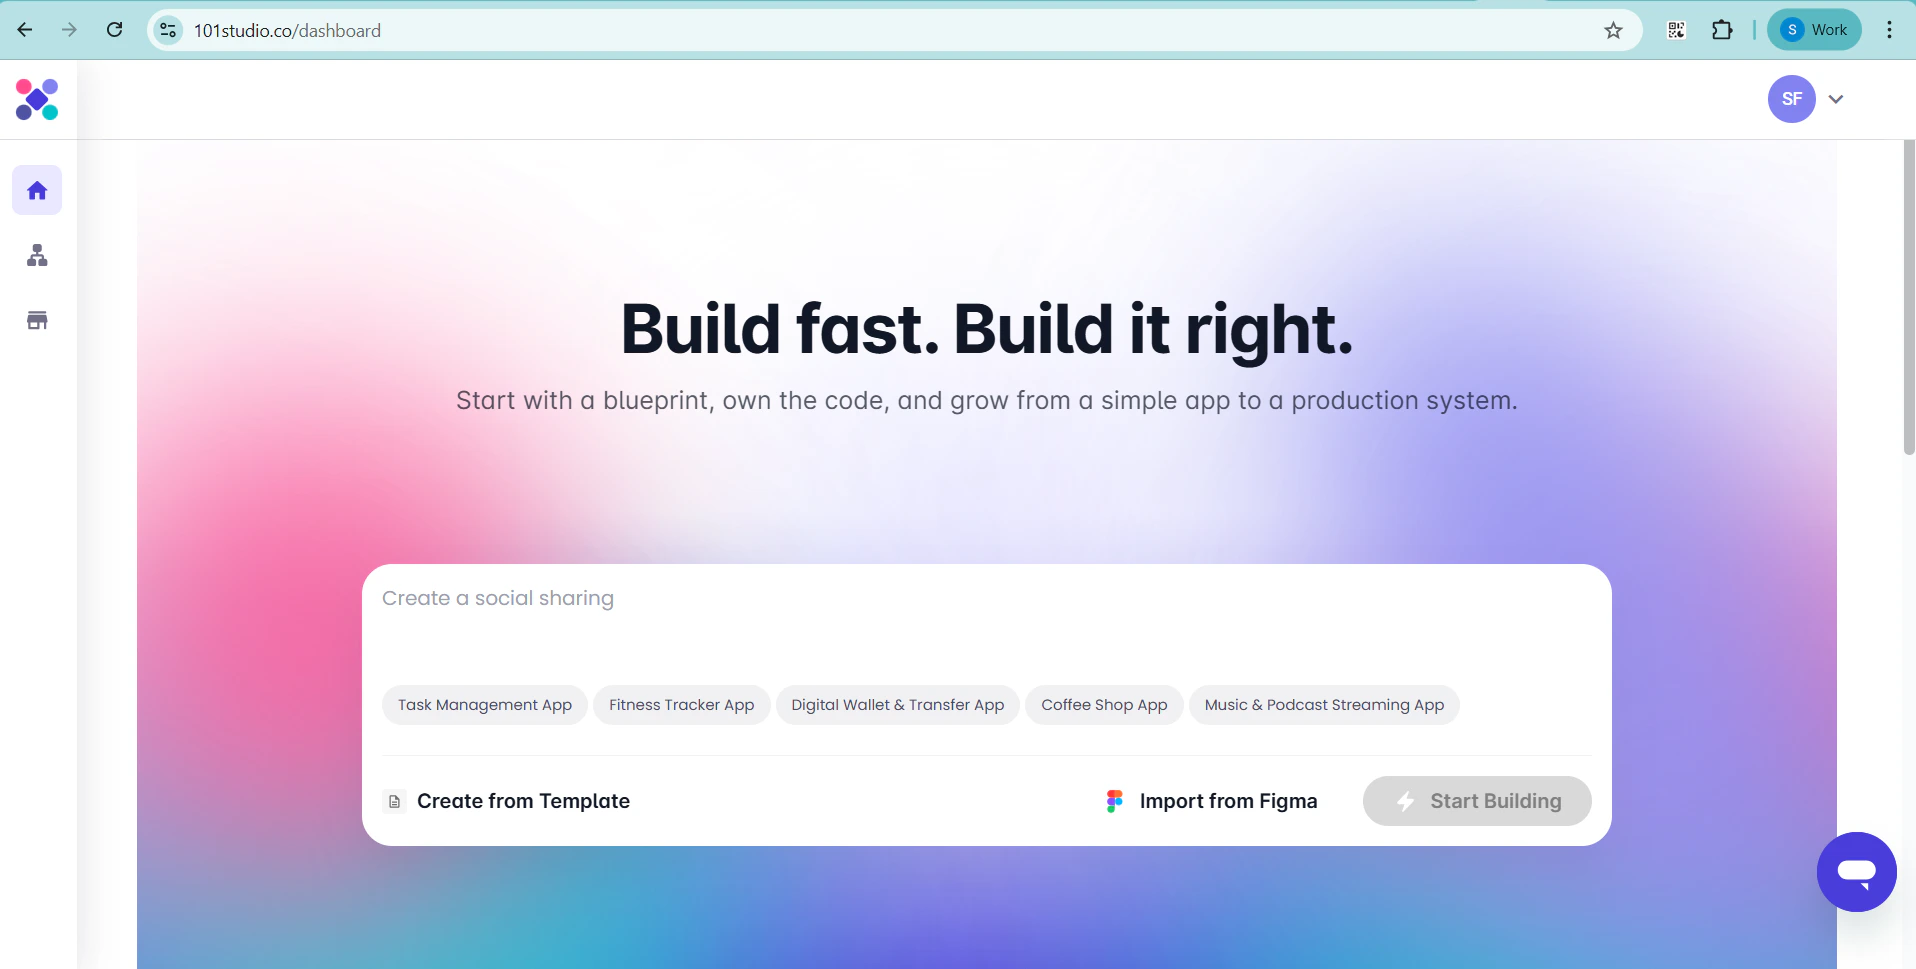
Importing Figma Files into Symplr
Importing a Figma file is the first step in using Symplr. This process allows the platform to access your design assets and prepare them for code generation. Steps to Import Figma File: Step 1: Copy the Figma File URL Open your Figma design and copy the shareable file URL.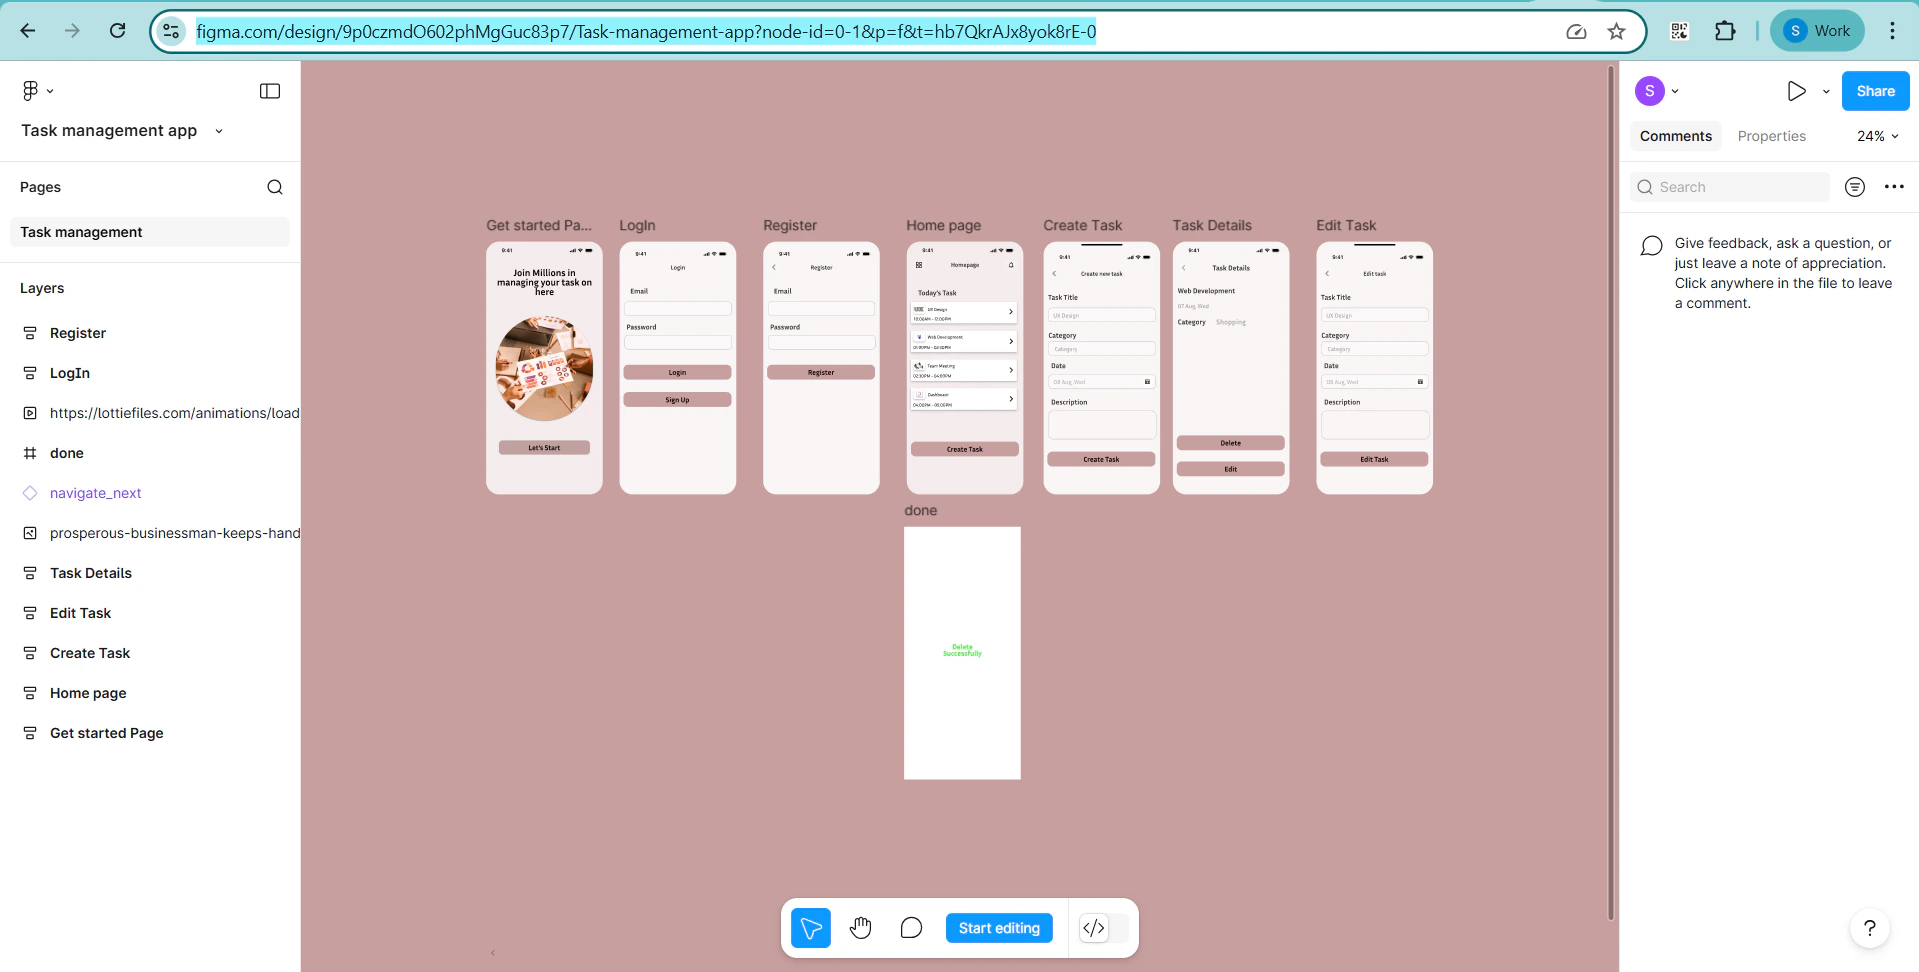
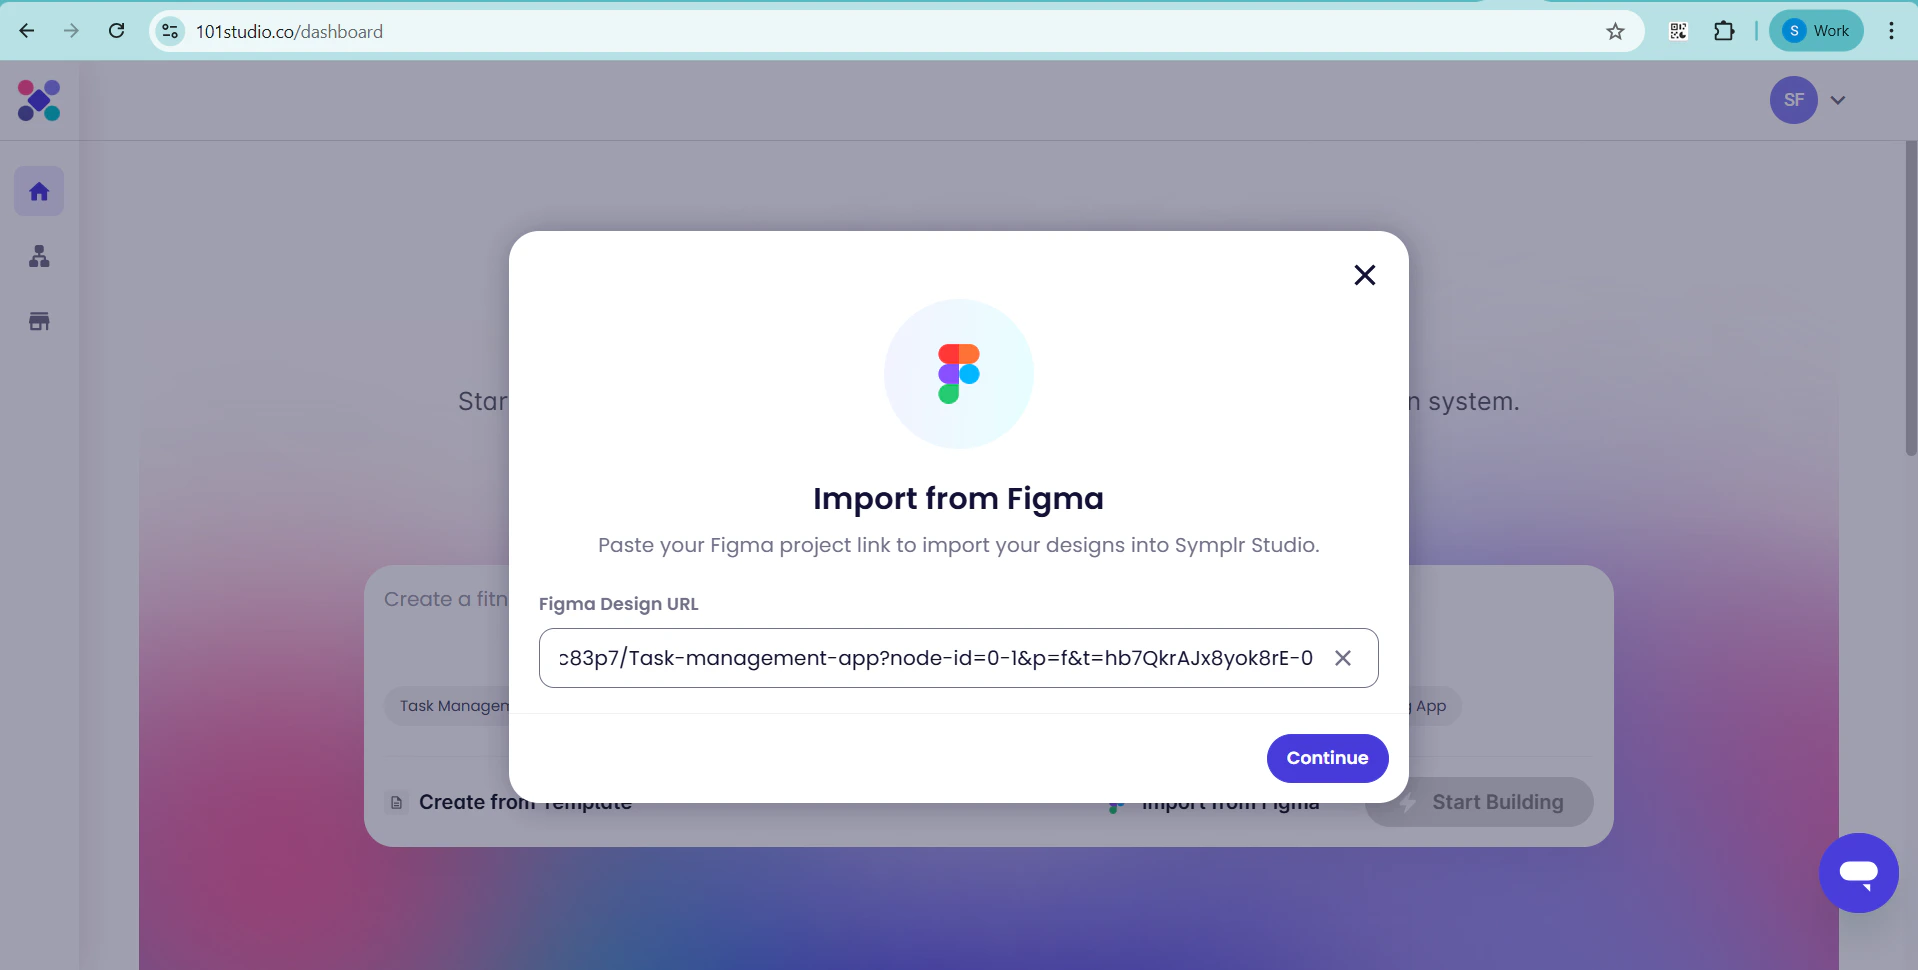
Note:If you are connecting your Figma account to Symplr for the first time, you will be prompted to authorize access. Follow the on-screen instructions to complete the authorization process.
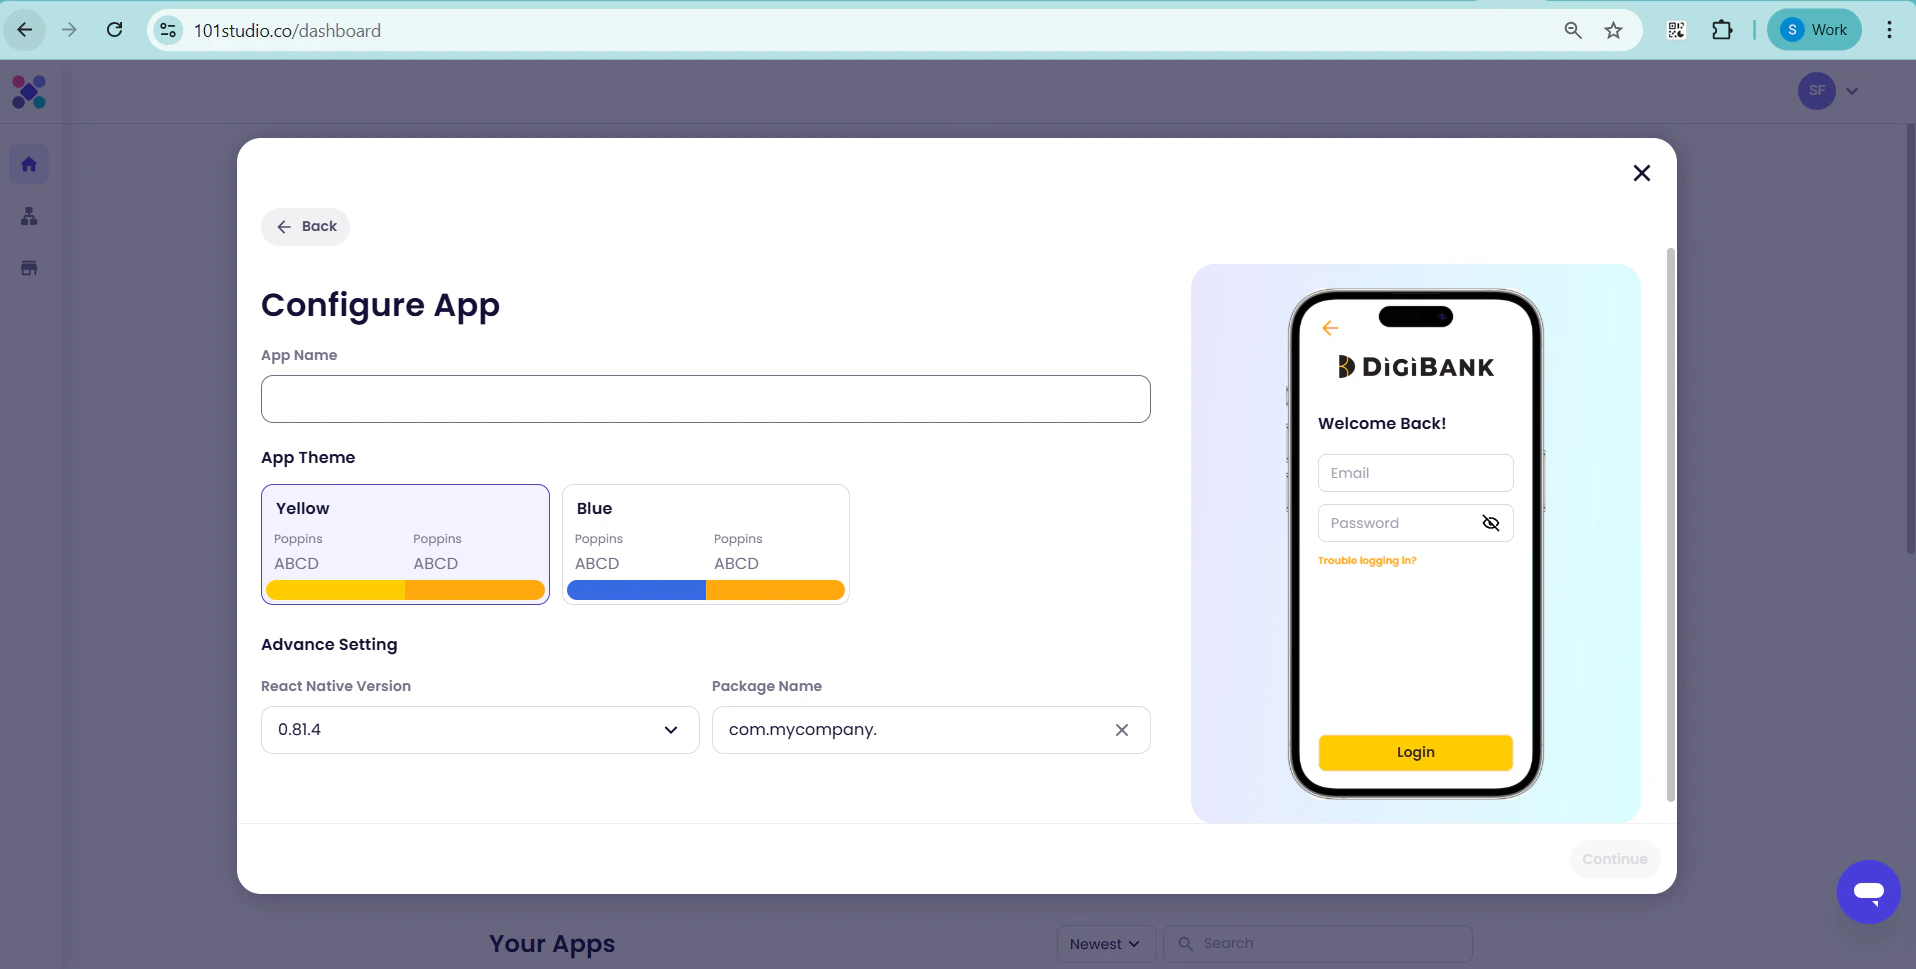
A configuration pop-up will appear. Provide the following details:
- App Name: Enter a unique name without spaces
- Theme: Select the preferred application theme
- React Native Version: Choose the appropriate version based on your project requirements
- Package Name: Define the application package identifier

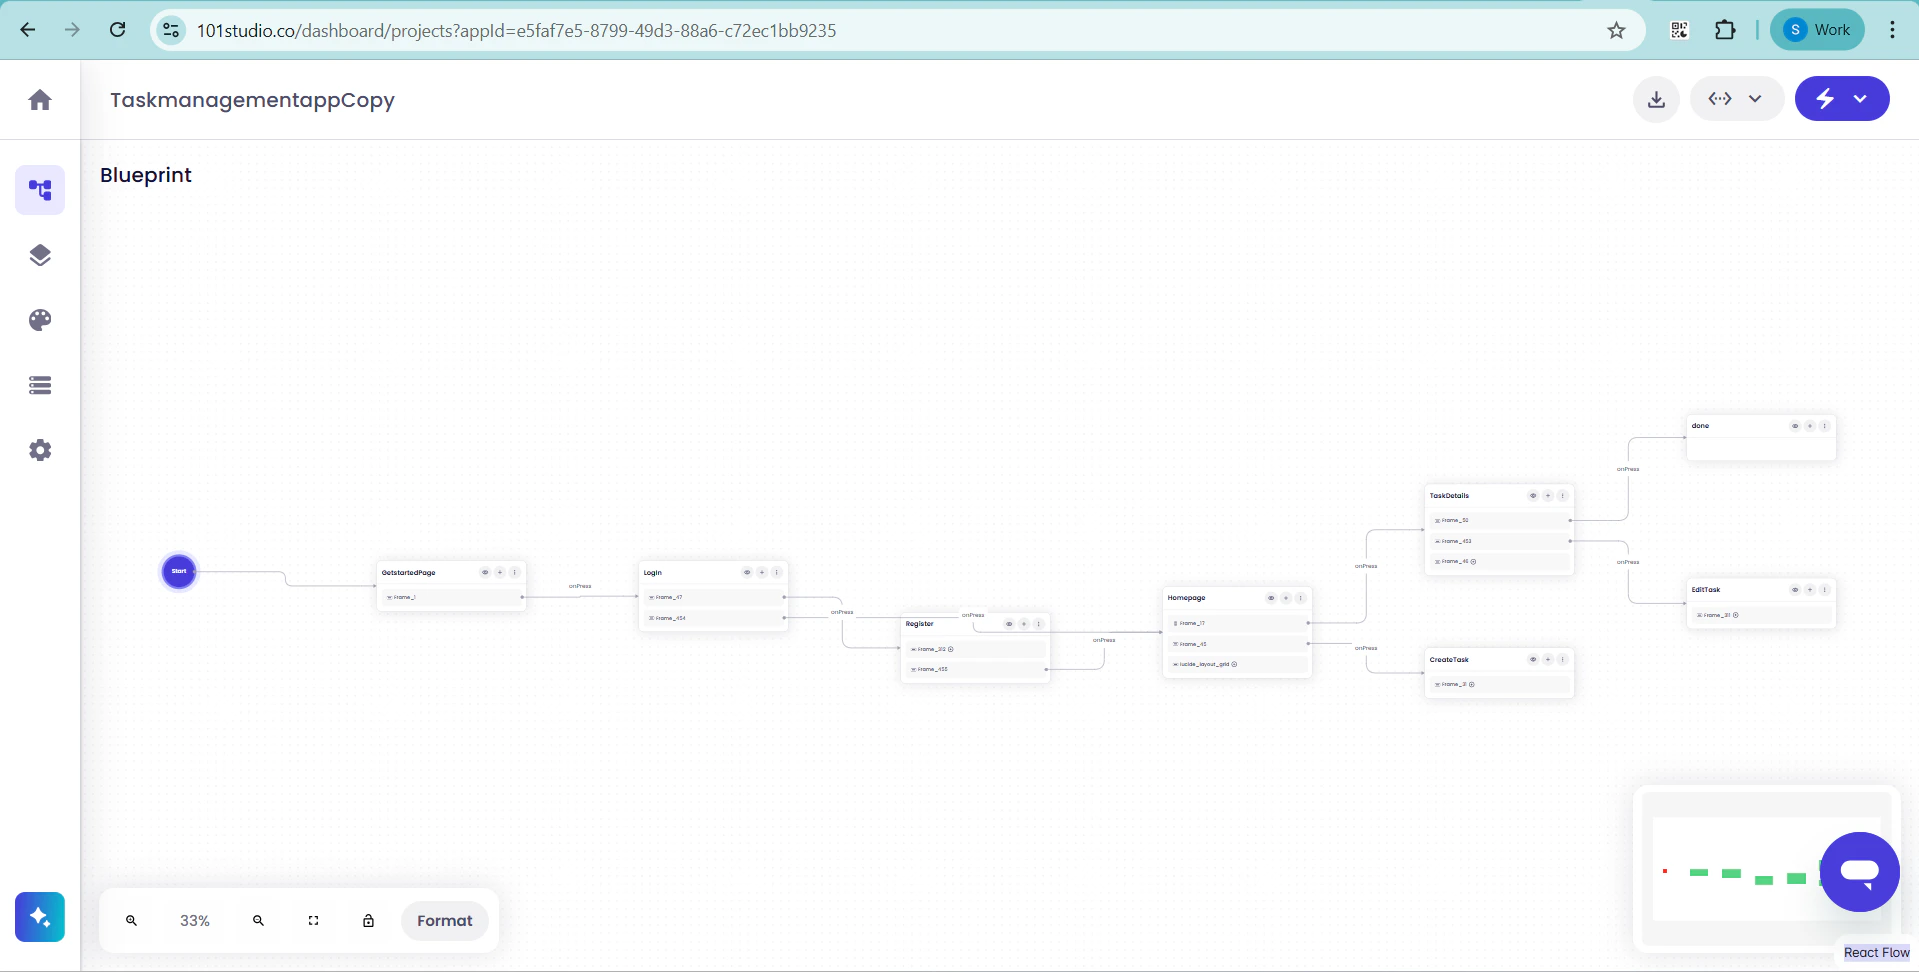
- Screen hierarchy and structure
- Component grouping and layout
- Navigation flow between screens\
Build & Run the Application
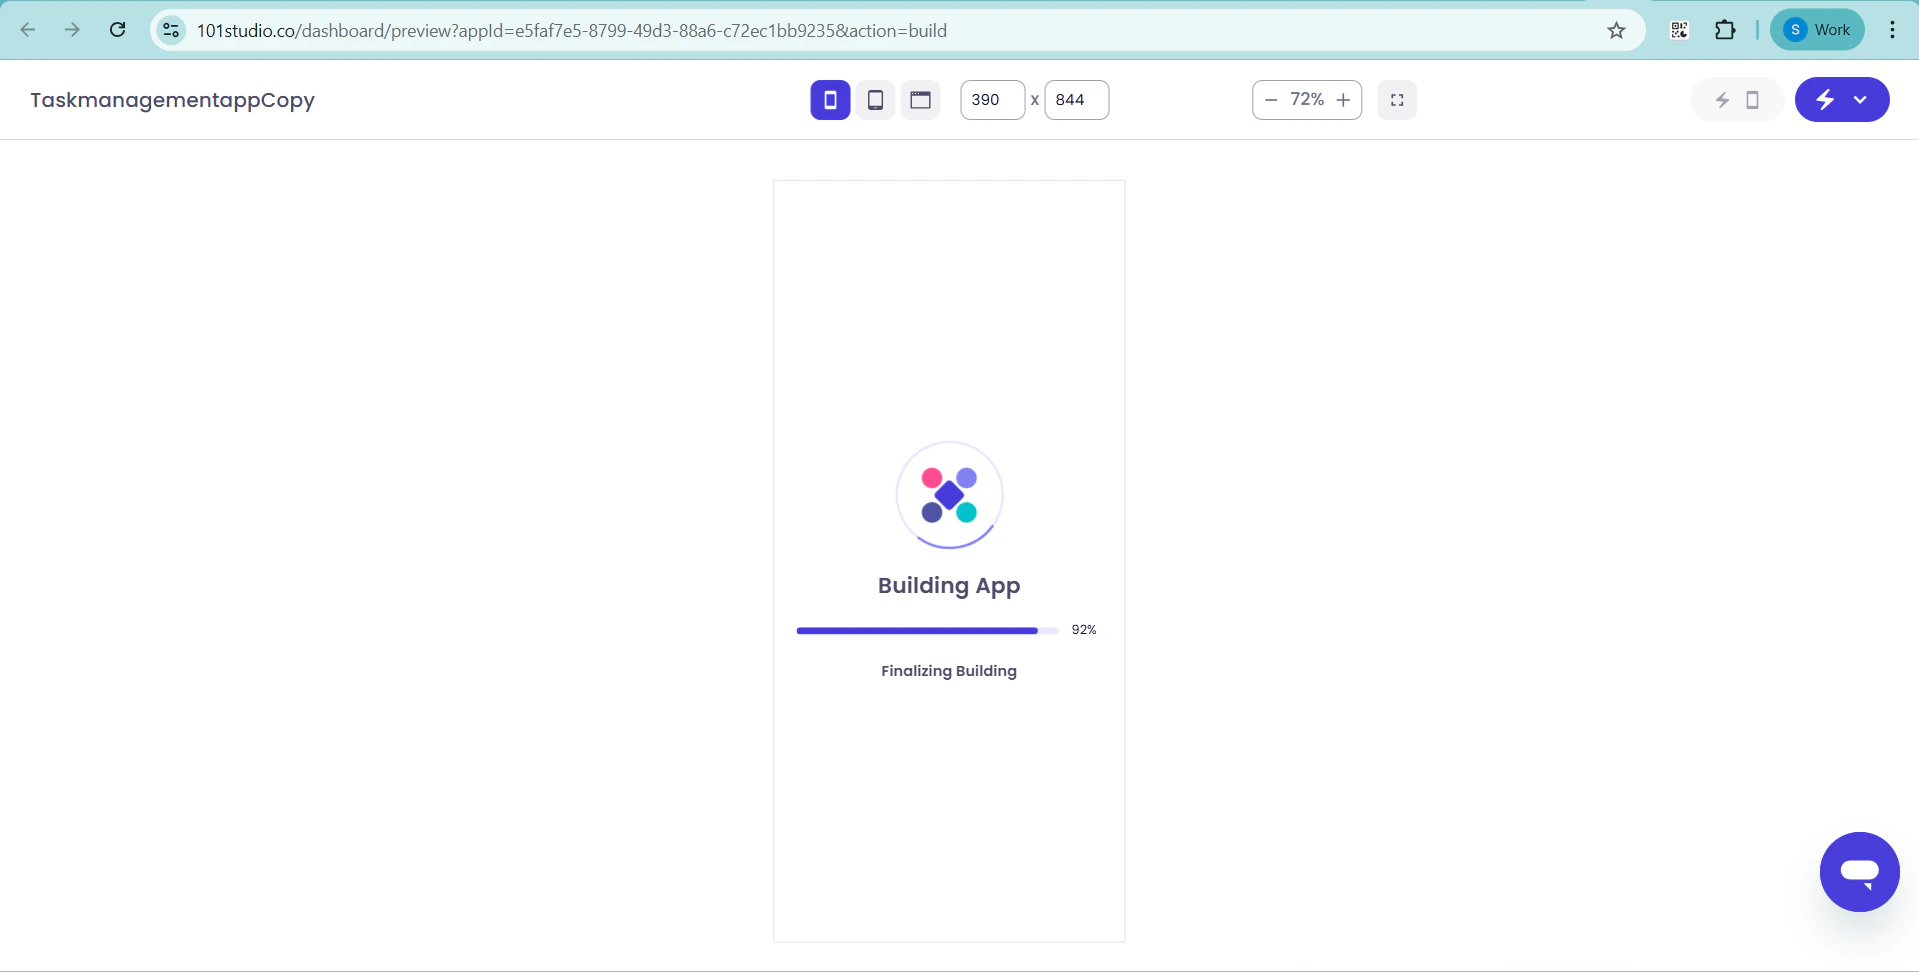
After generating and downloading the code, Symplr enables you to build and run the application directly within the platform, allowing you to validate functionality before deployment. Steps to Build and Run the App: Step 1: Navigate to Build & Run Section From the top-right corner of the symplr interface, click on “Build & Run App.” This section allows you to compile and execute your application. Step 2: Initiate the Build Process Click on the “Build” button to start compiling the application. The system will begin processing the generated code and preparing it for execution.
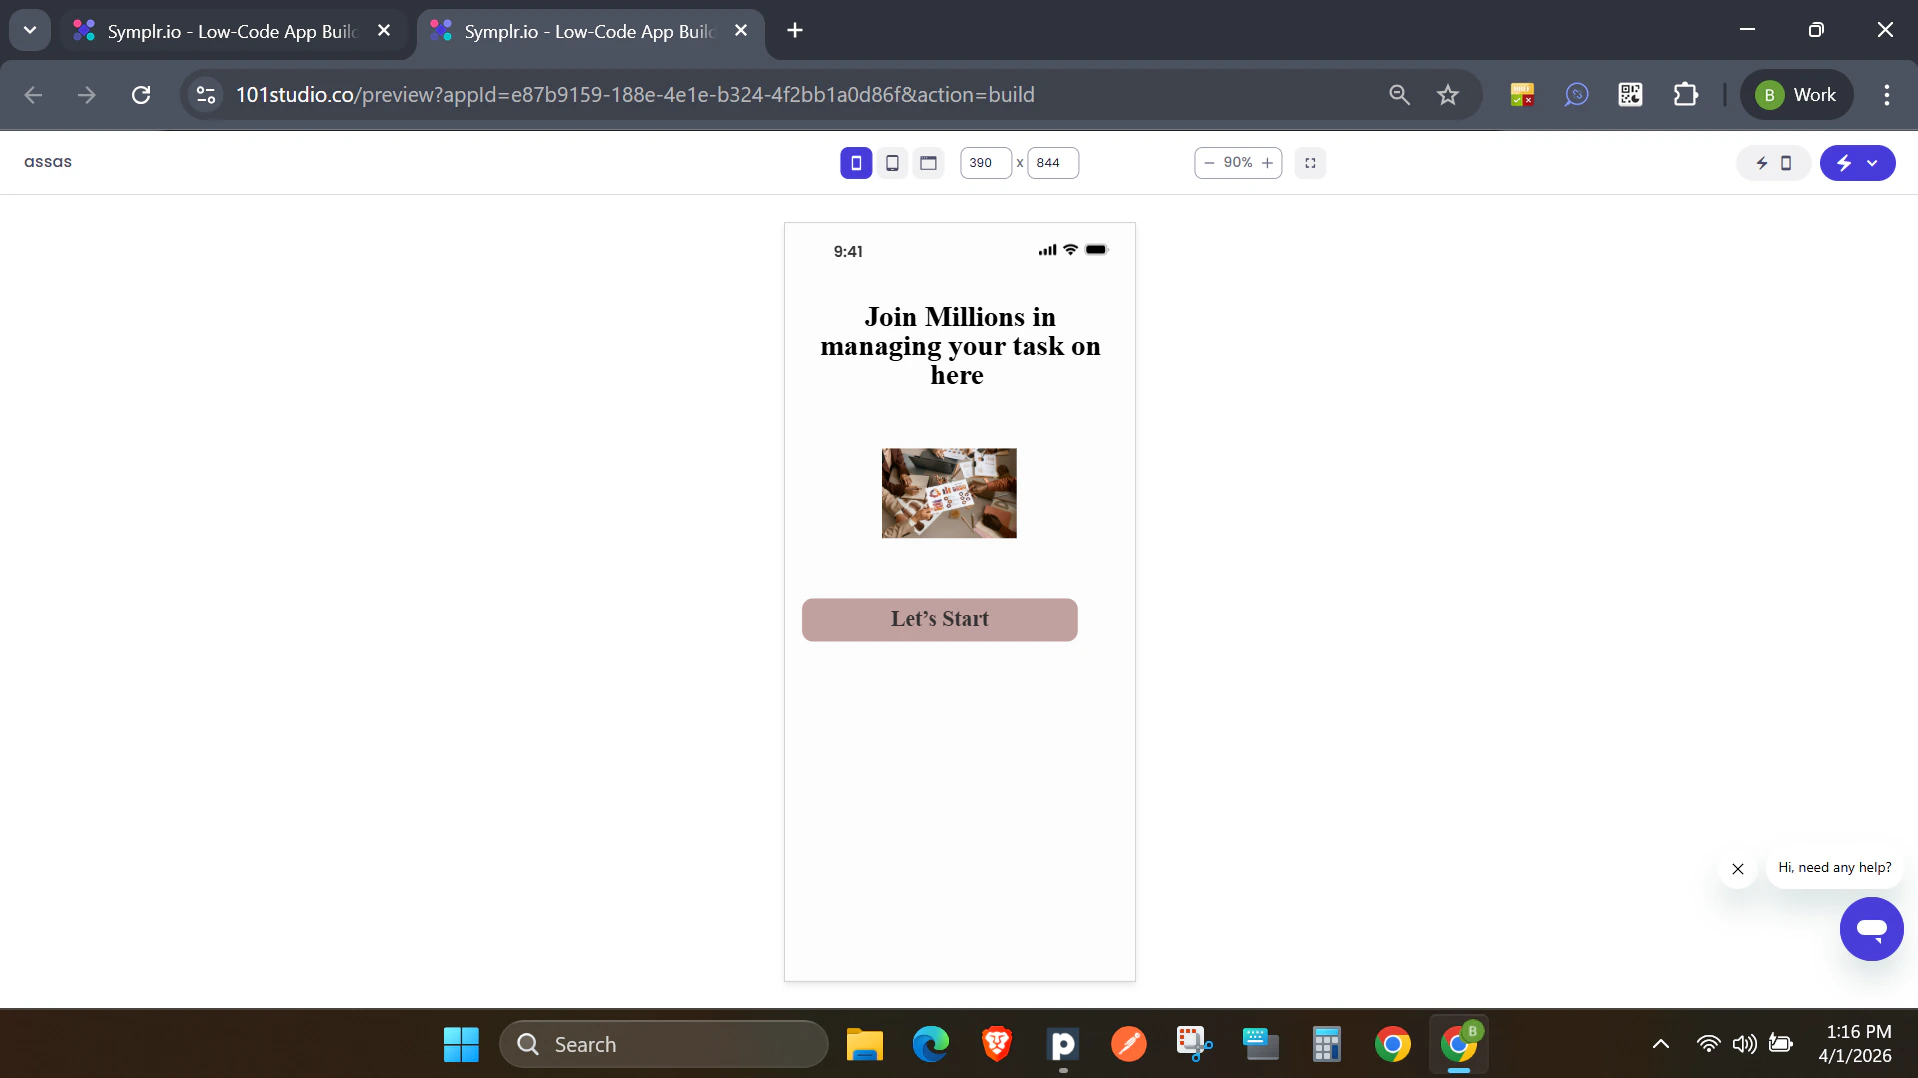
Step 4: Run the Application Once the build is successful, it will proceed to run the application within the Symplr environment.
Problems?
If you encounter any issues while using Symplr, first ensure that all steps in the guide have been followed correctly and that your configurations (such as Figma setup, app definitions, or workflows) are properly defined. If the issue persists, you can:- Reach out to the Symplr Support Team for further assistance